OneSignal enables you to deliver notifications to the phone of your app users. Notifications are the primary traffic source for most mobile apps. The “Free” plan provides unlimited mobile Push Notifications (with a few restrictions). Follow the instructions below to setup your app to utlize OneSignal and Firebase
Firebase is a backend app development platform that is backed by Google. Firebase provides the database that OneSignal utilizes. Like OneSignal, obtaining a Firebase is free of charge.
GETTING STARTED
To have your app utilizing OneSignal for Push Notifications, you must have the following:
- OneSignal Account
- Firebase Account
- Android Developer Account
- Apple Developer Account (if you want to send Push Notifications on iOS)
If you already have the Push Notification function (app page) in your app, it must be deleted. If needed, Open A Ticket and request for us to remove the page.
ANDROID CONFIGURATION
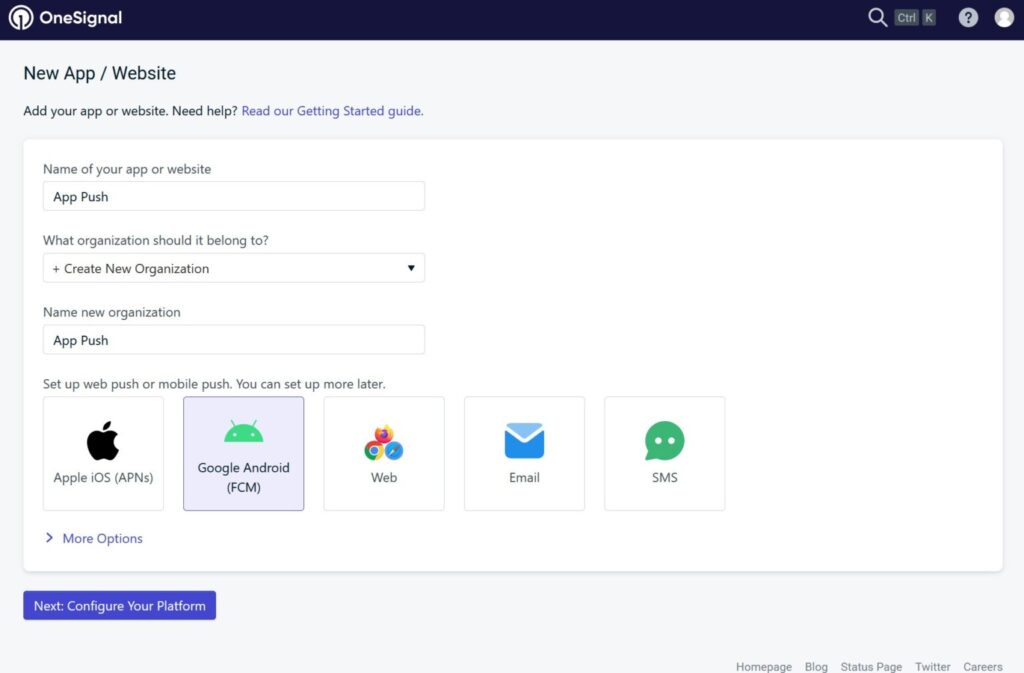
Add a new app to your Onesignal account, give it the same name as your application
Select Android to get started.
Next, create a Firebase project.
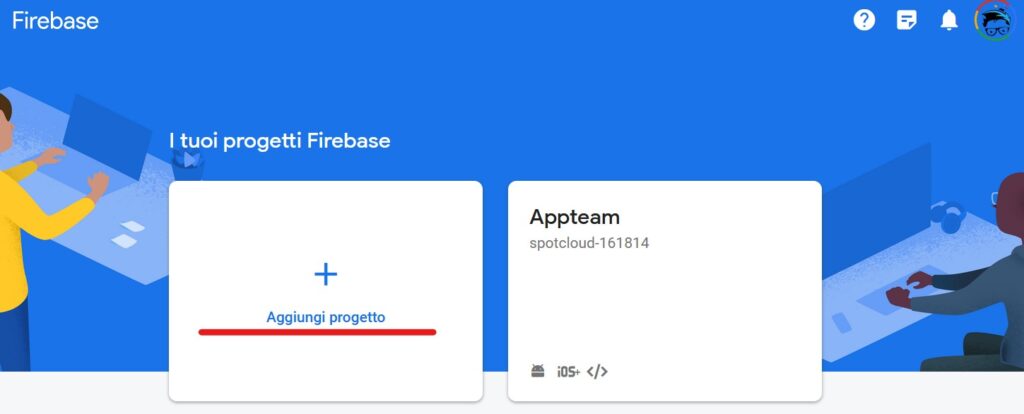
Then go to the Firebase console https://console.firebase.google.com and if you haven’t already done so, create a new application by clicking on Add Project.
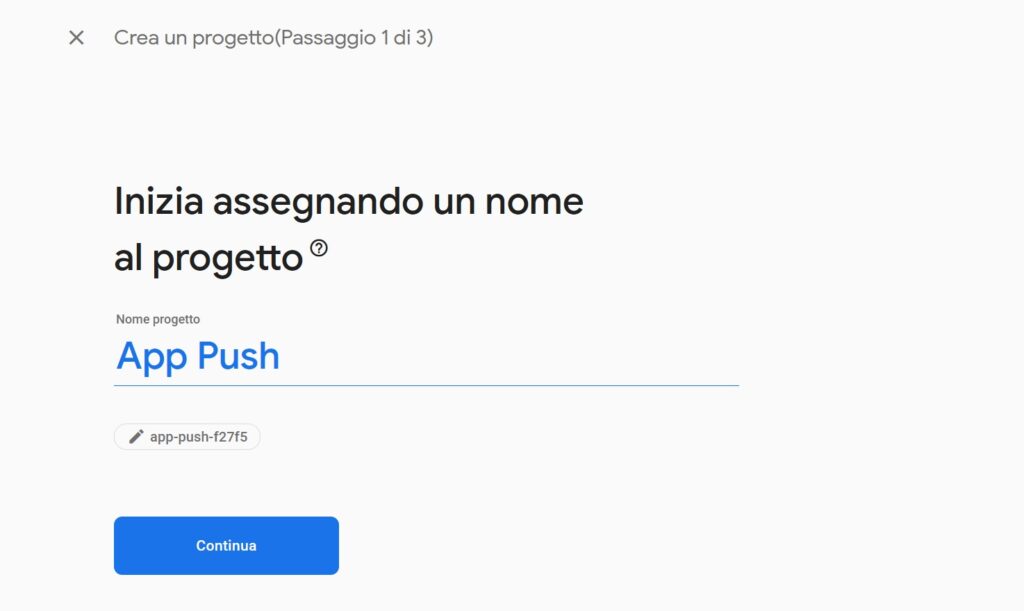
Enter the exact the name of your application and click Continue.
For now, disable the Enable Google Analytics for this project item and click Create project.

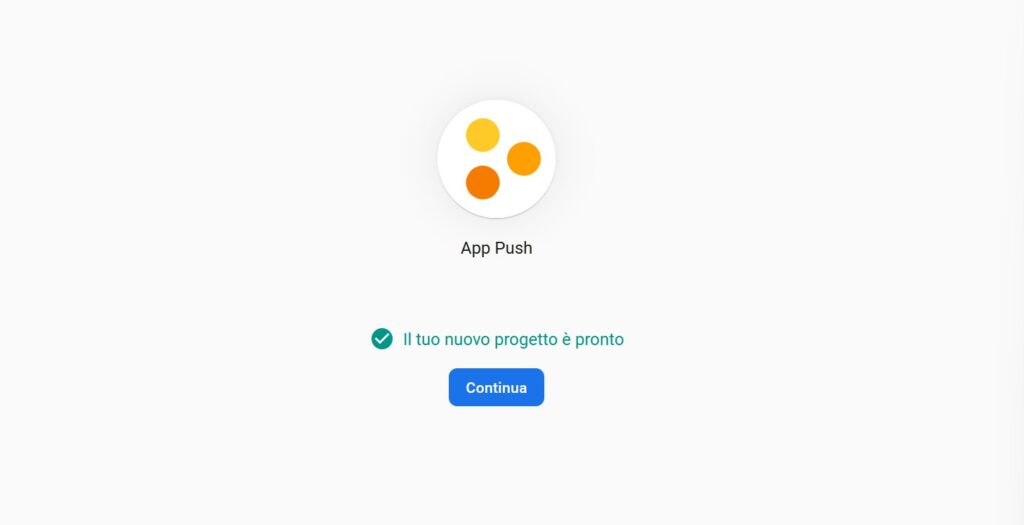
Be patient as the Project is being created.
Click continue when it’s done.
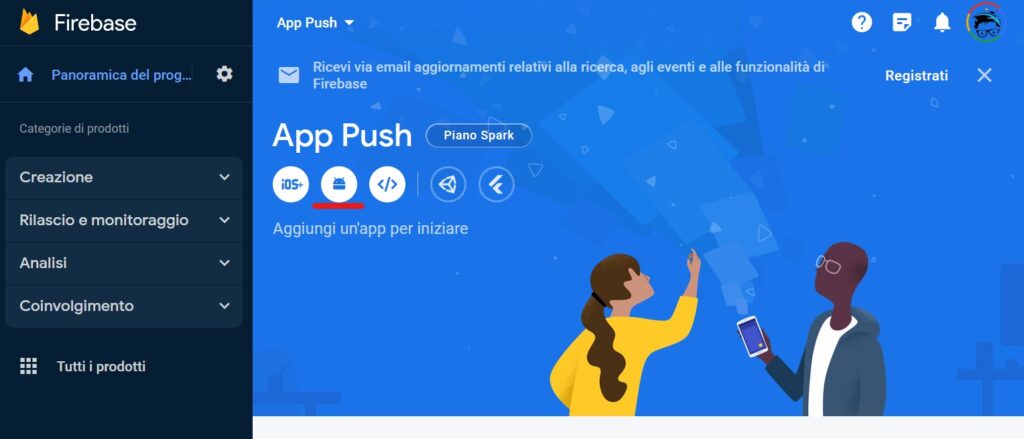
Once the Dashboard is open, create an App for the project by clicking on Android.
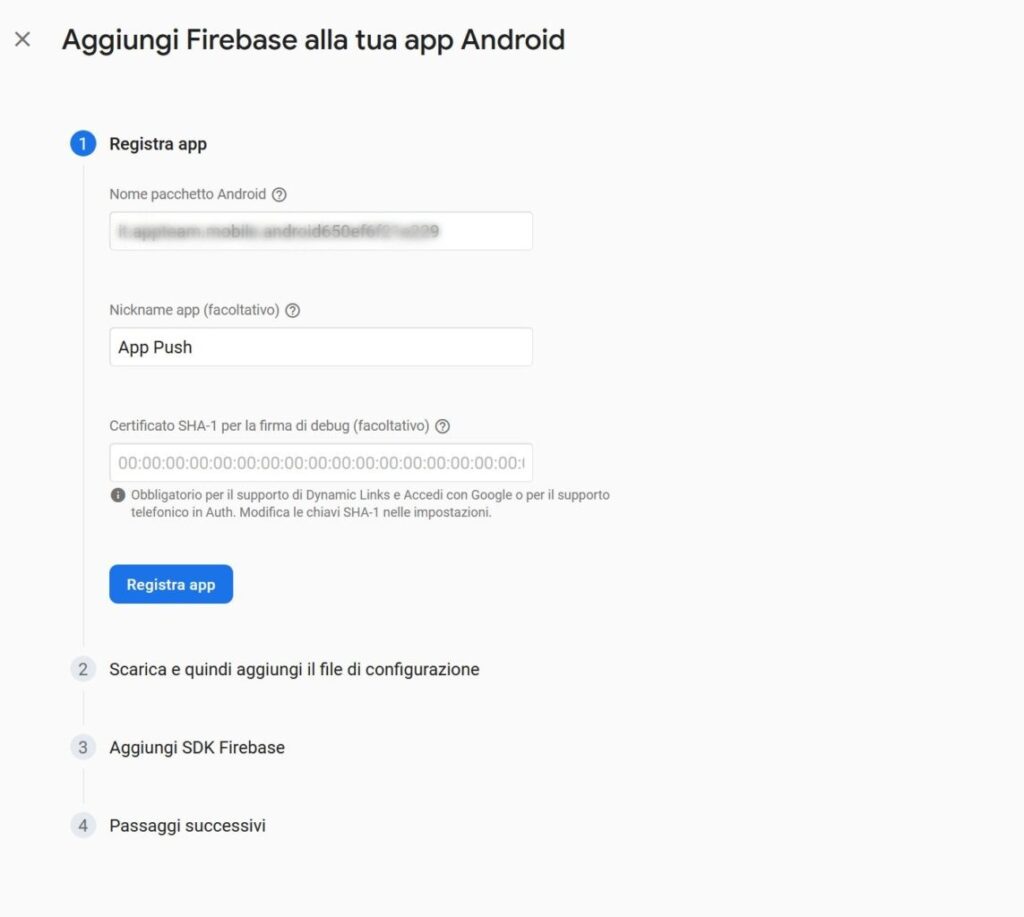
Paste the Application Package Name from your App Manager. It should be something similar to this: net.buzapps.androidtest558a. If you are not sure what your Package Name is, Open A Ticket.
Next, name of the app , then go ahead by clicking Register App.
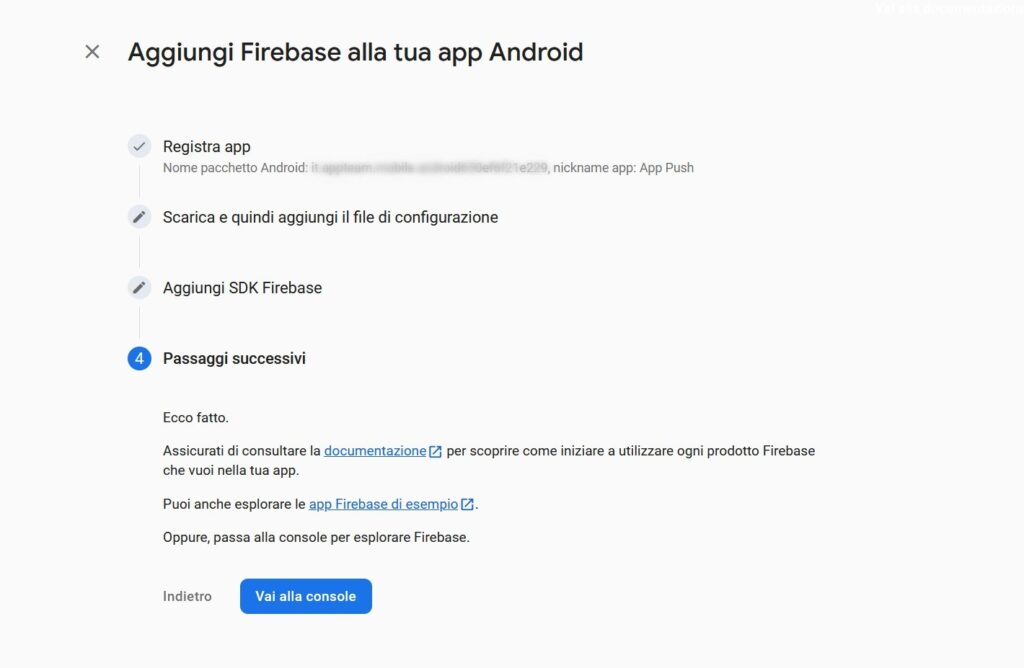
Click Next.

Click Next again.

Click Go to Console
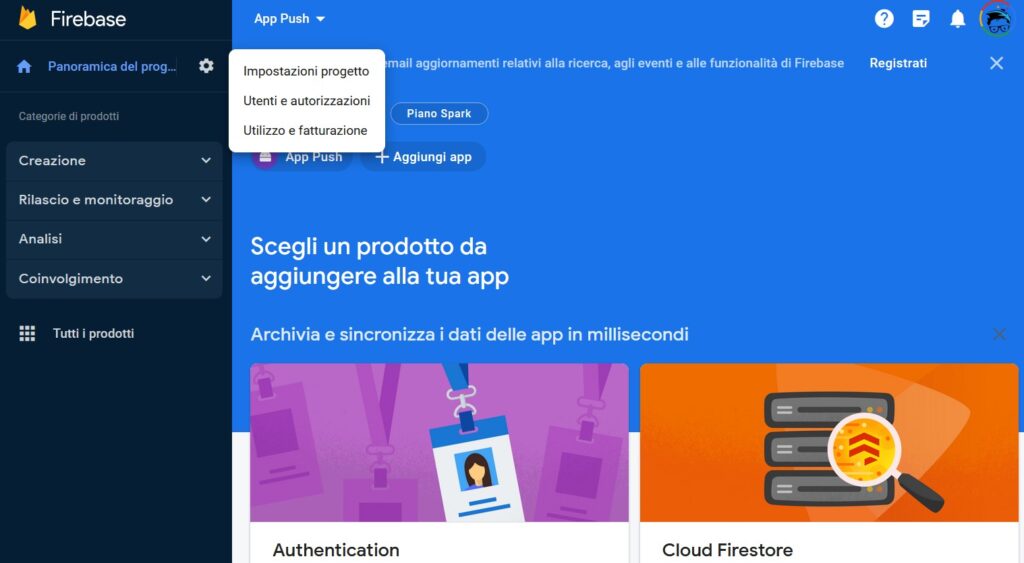
Returning to the Dashboard , click on the Gear icon and then on Project Settings
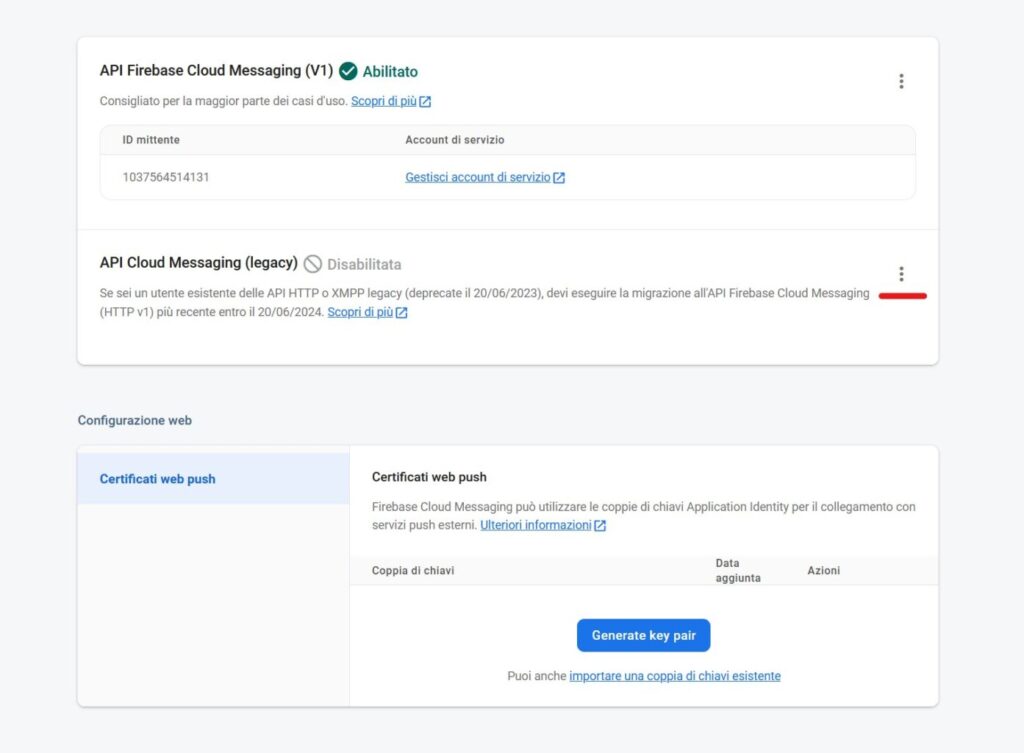
Now go to Cloud Messaging and make sure that API Cloud Messaging (legacy) is enabled, otherwise click on the 3 dots
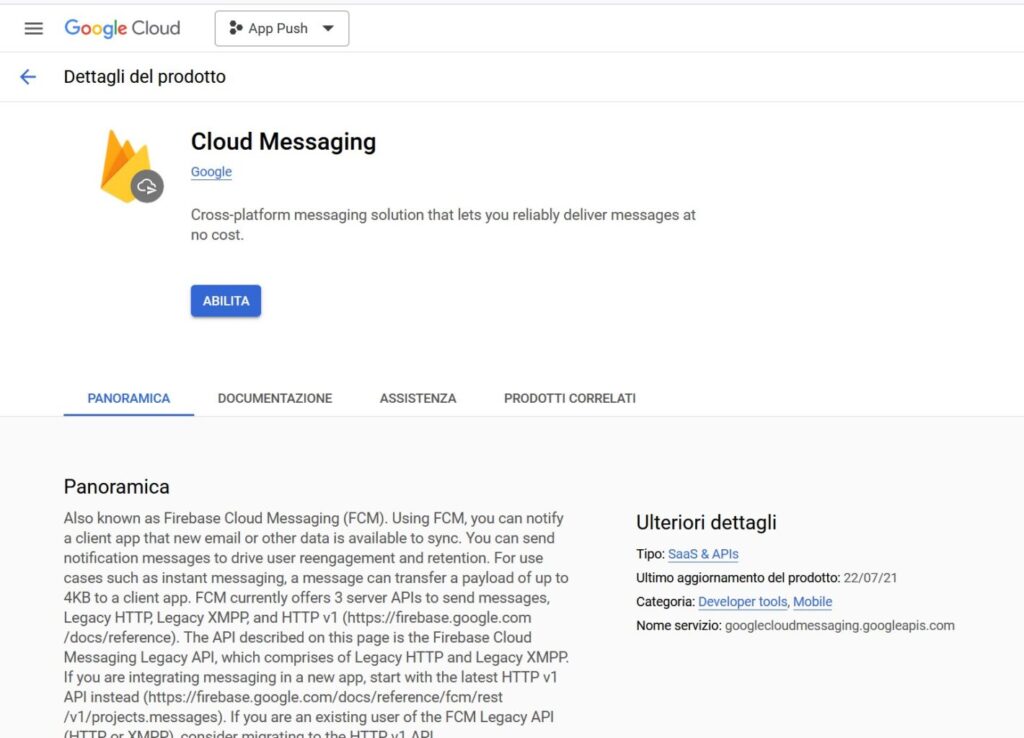
Next, click Manage API in Google Cloud Console

Click ENABLE to enable Cloud Messaging
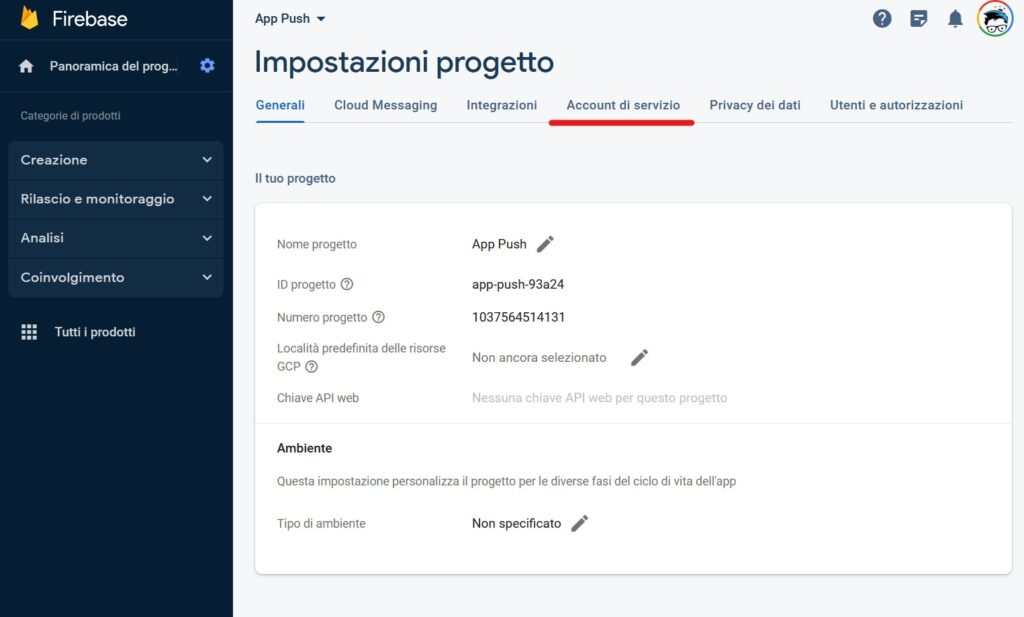
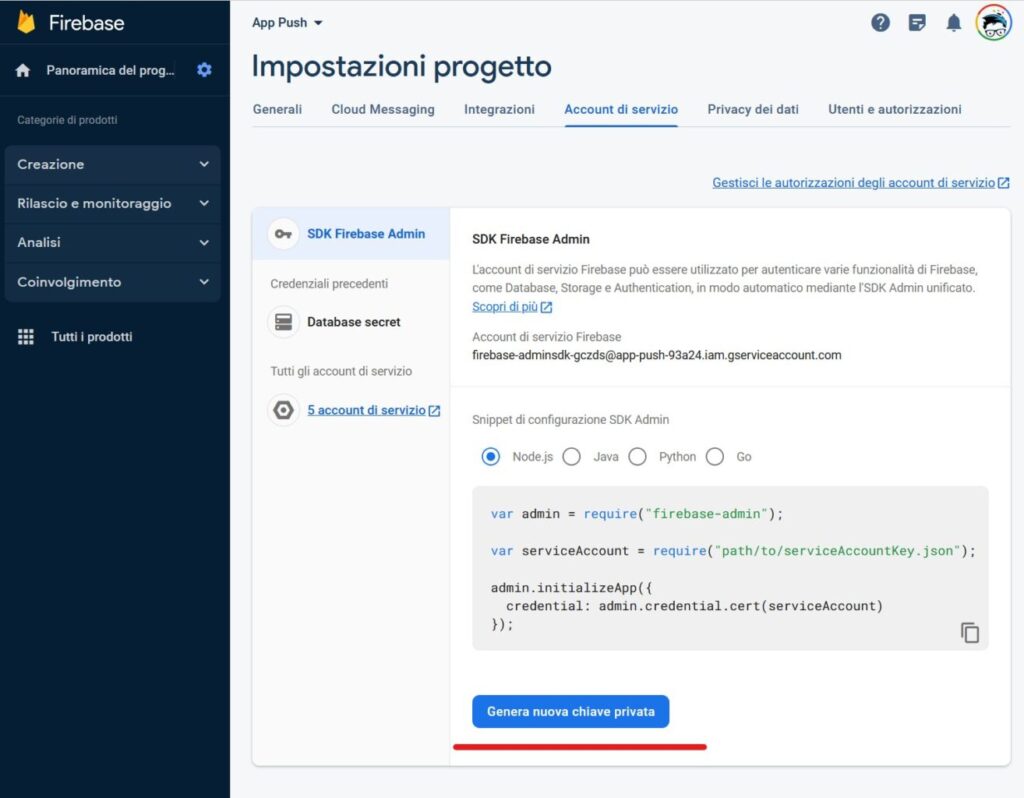
Now click on Service Accounts
Next, click on Generate new key
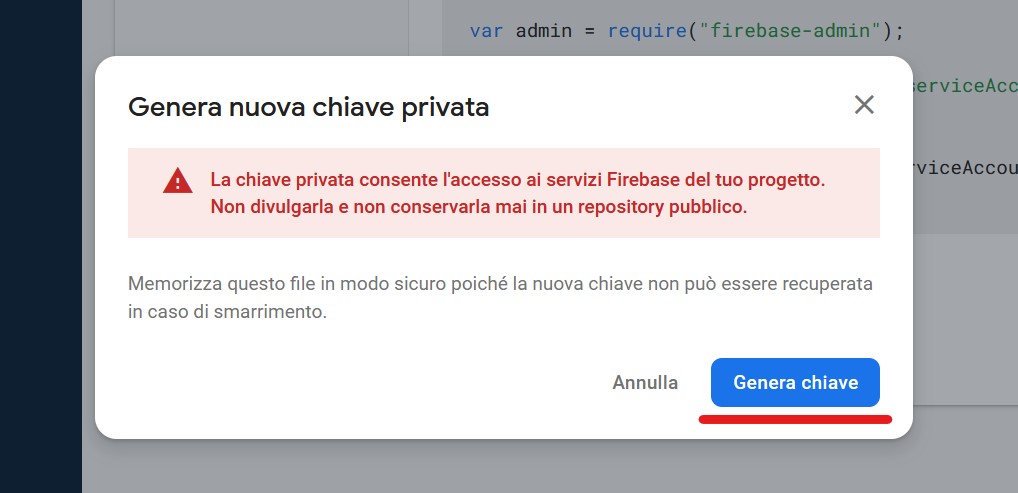
On the warning screen, click Generate Key .
Let’s save the .json file in our demo case it’s called app-push-93a24-firebase-adminsdk-gczds-2571bea38e.json

Next, go back to Onesignal where we entered the same name as our application. In this case we called it App Push,
- What organization should it belong to? Select + Create New Organization,
- Set up web push or mobile push. You can set up later. Select Google Android (FCM)
- Name New Organization Insert the name of the application here
Next, click on Next: Configure Your Platform

Now all we have to do is upload the file previously downloaded from Firebase . In Service Account JSON we then click on Choose File and select the file from our computer and click on Save & Continue.

Select Cordova and click on Save & Continue

And finally click on Done.

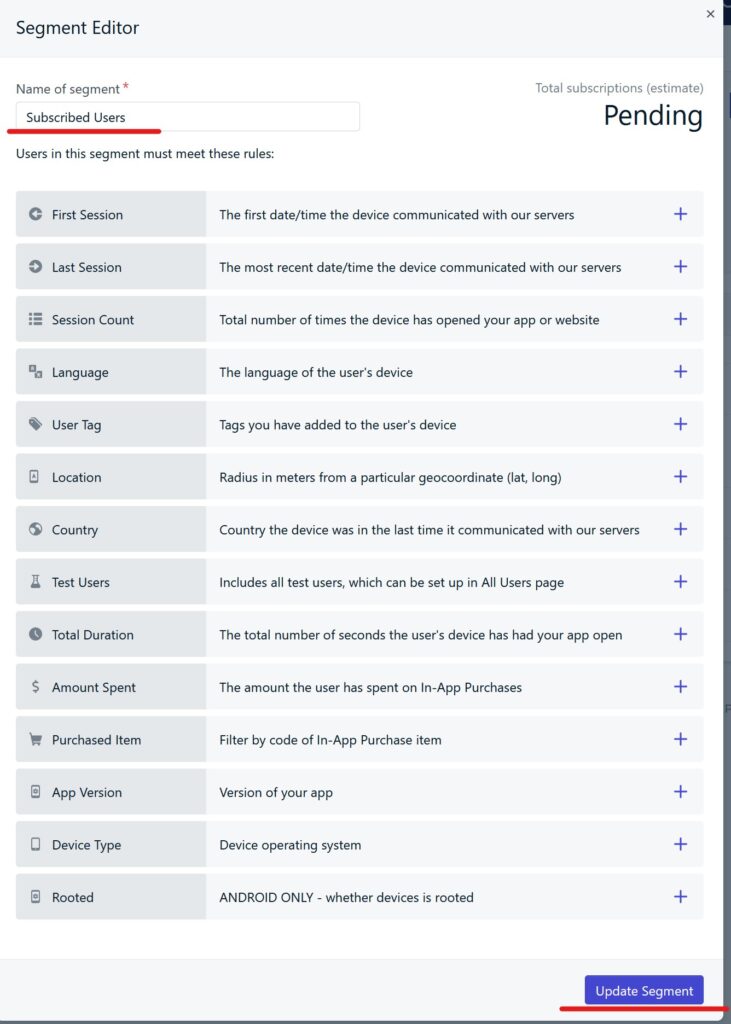
Now go to Audience click on Total Subscription

Rename it to Subscribed Users respecting the lowercase and uppercase letters, then clicking on Update Segment.
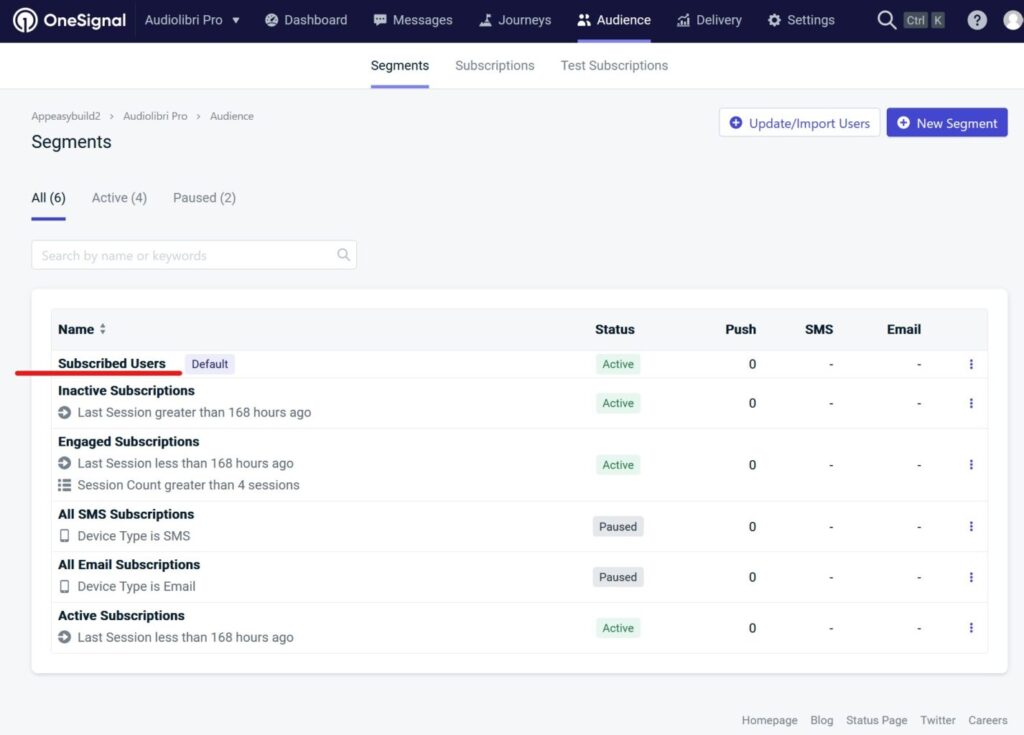
You will then see this:
Return to the Onesignal app Dashboard , click on Keys & IDs and copy the key by clicking on the Onesignal App ID icon and Rest API Key

Let’s now go to the App Manager from the left sidebar under Settings -> API Keys and paste our newly created keys onto Onesignal and click on Save.
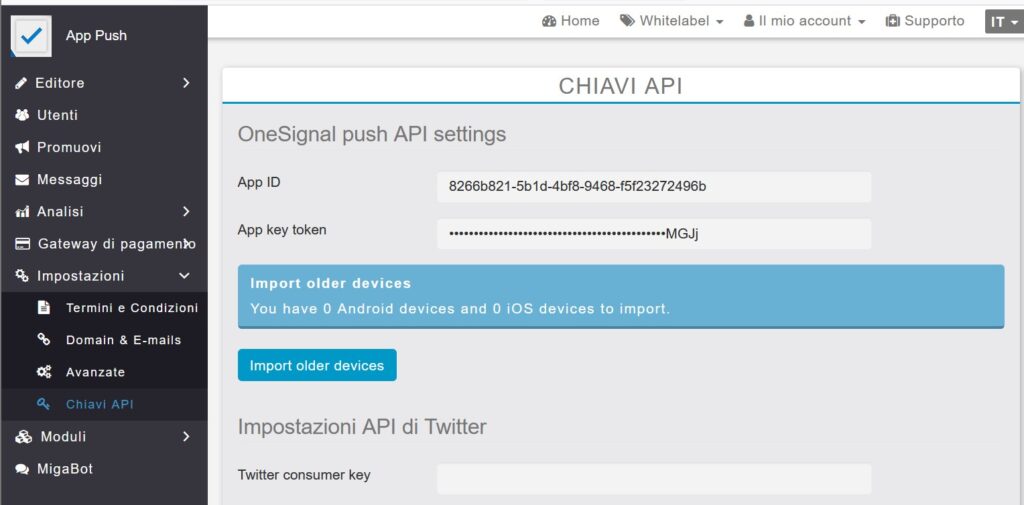
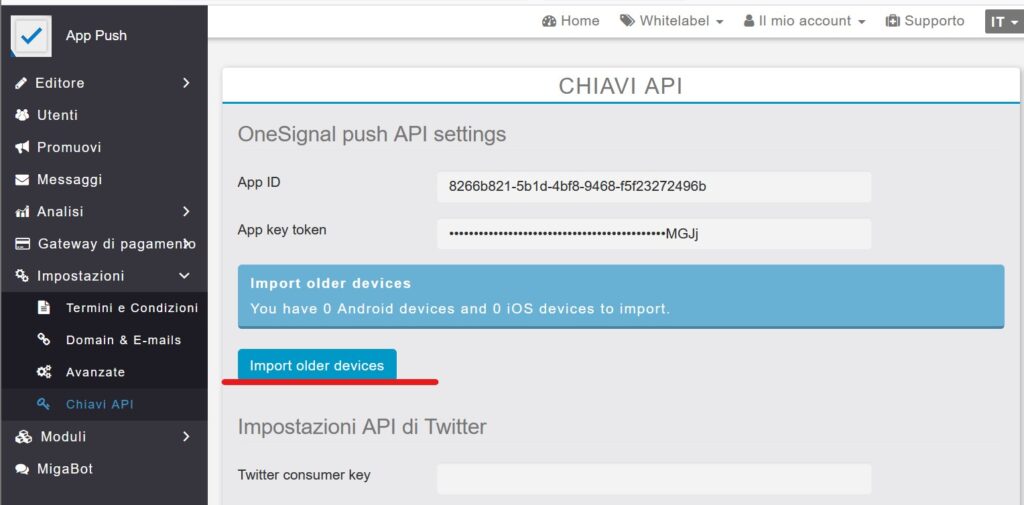
Next, after saving, click the Import older devices button to import the old devices present in the app. Always do it anyway whether it’s a new app or whether you’re doing it on an existing application.
CONFIGURE IOS
To complete this section you need the .p12 certificate which you can generate by following this guide https://buzapps.net/info/knowledgebase/how-to/how-to-compile-an-ios-app-and-create-a-pem-certificate/
Now that you have generated your .p12 certificate, return to the Onesignal Dashboard and now select Apple iOS (APN).

Upload your key, then click Save & Continue.
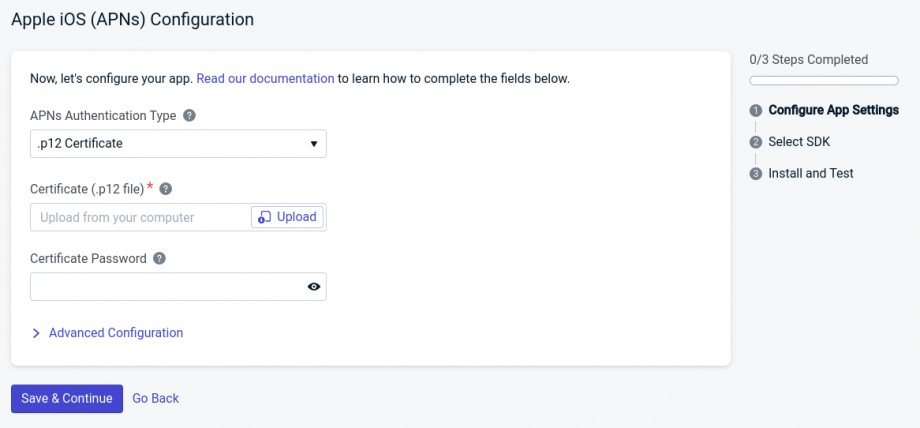
Select Cordova SDK , then you’re done!
