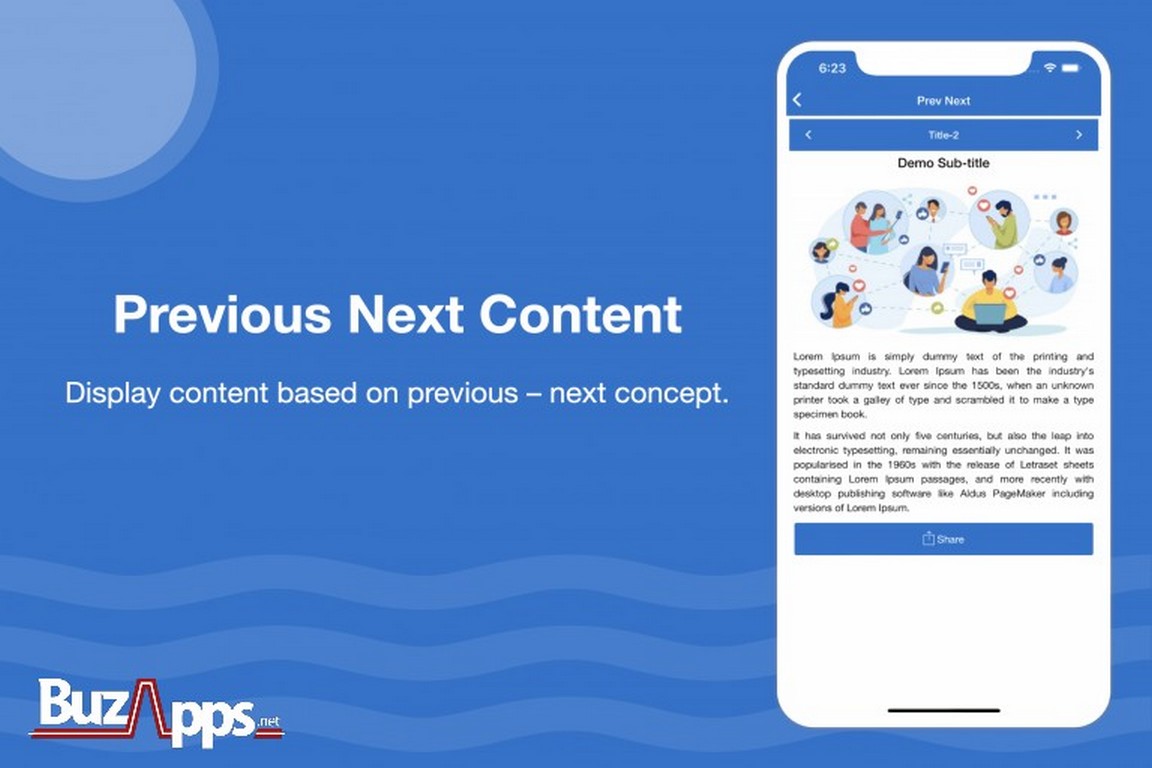
The Previous / Next feature enables you to easily display content in your app with Previous and Next navigation buttons. This is great for book content, quotes, tips, stories, cookbooks, and other long-form content. Below are instructions on how to configure and utilize the Previous / Next feature.
Configuration
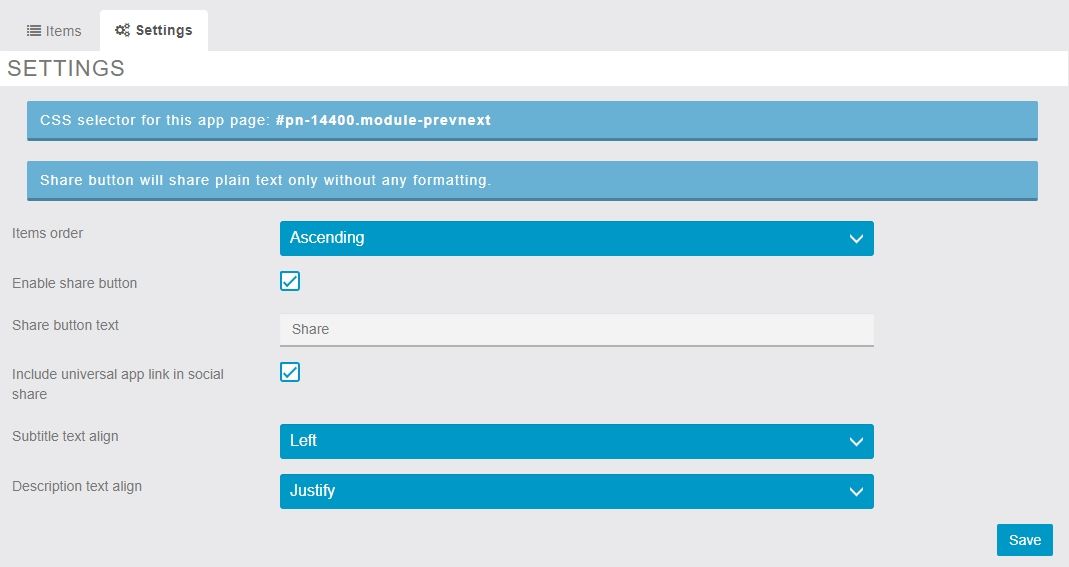
ITEMS ORDER – Select the default sorting order of the pages that you add.
ENABLE SHARE BUTTON – If enabled, an option will appear that will enable the App User to easily Share the content that’s on the page.
SHARE BUTTON TEXT – Enter the text that you want displayed on the Share button.
INCLUDE UNIVERSAL APP LINK IN SOCIAL SHARE – If enabled, your app’s web url will appear as an option when Sharing is enabled.
SUBTITLE TEXT ALIGN – The page alignment of the subtitle text.
DESCRIPTION TEXT ALIGN – The page alignment of the content test.
Adding Content
Adding content is extreme simple. To add a new page, simply click the blue + button on the right-hand-side of the screen.
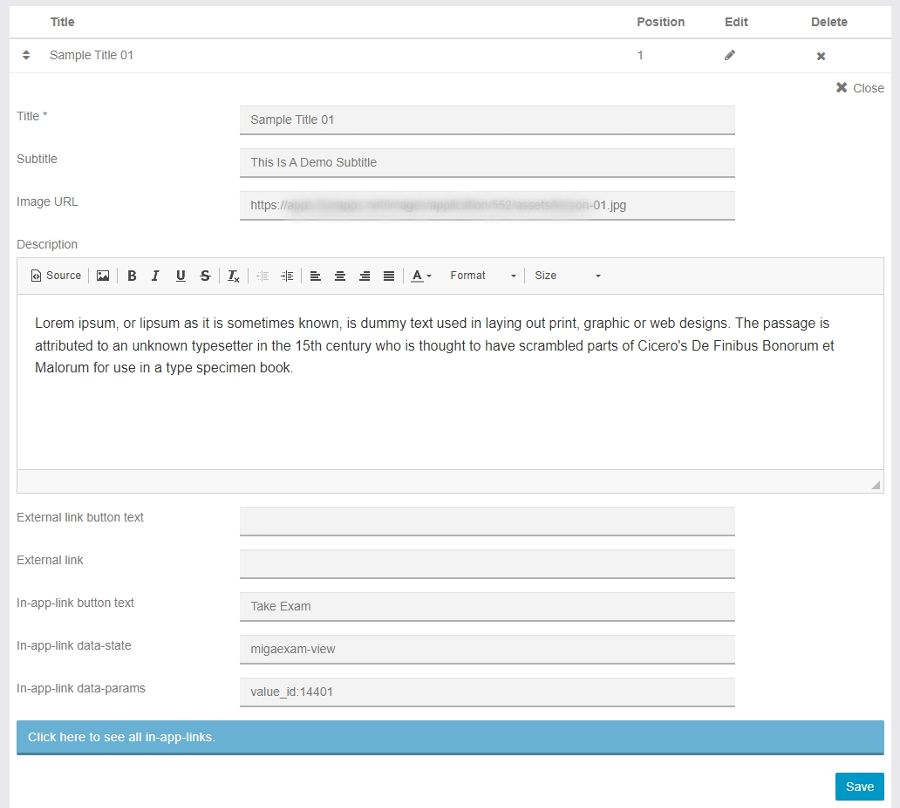
Next, enter the Title, and optionally Subtitle for the page.
The third step is to (optionally) add the url to the image that you want displayed on the page. You can use our Media Uploader that’s in the App Manager to upload your image and get the url. On the left-hand-side of the screen select Modules > Media Uploader (right-click on Media Uploader and open the page in a new Tab). Next, simply select Upload File. Once the file is uploaded you will be given the image URL. Copy it, and Paste it in the Image URL field.
Next, enter the content that should be displayed on the page. Use the formatting options to display the content to your liking.
EXTERNAL LINK BUTTON TEXT – Use this option if you want to add a Button that will open an outside web page. Enter the Button Text.
EXTERNAL LINK – Enter the URL of the external web page that you want to use.
IN-APP-LINK BUTTON TEXT – Use this option if you want to add a Button that will open an internal app page. Enter the Button Text.
IN-APP-LINK DATA-STATE – Enter the app page type that you will be using. Click here for more information on data-states and internal app links.
IN-APP-LINK DATA-PARAMS – This is the Value ID of the app page that you will be linking to. Click here for more information on Value IDs.
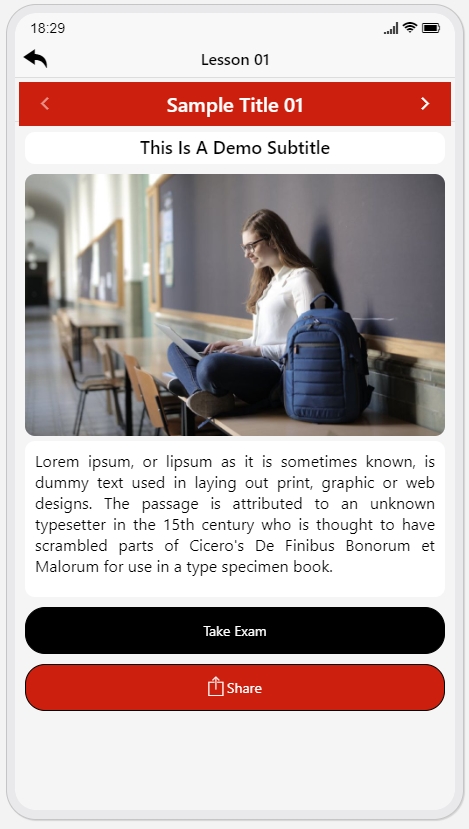
The last step is to click Save. Below is an example of a completed page.


